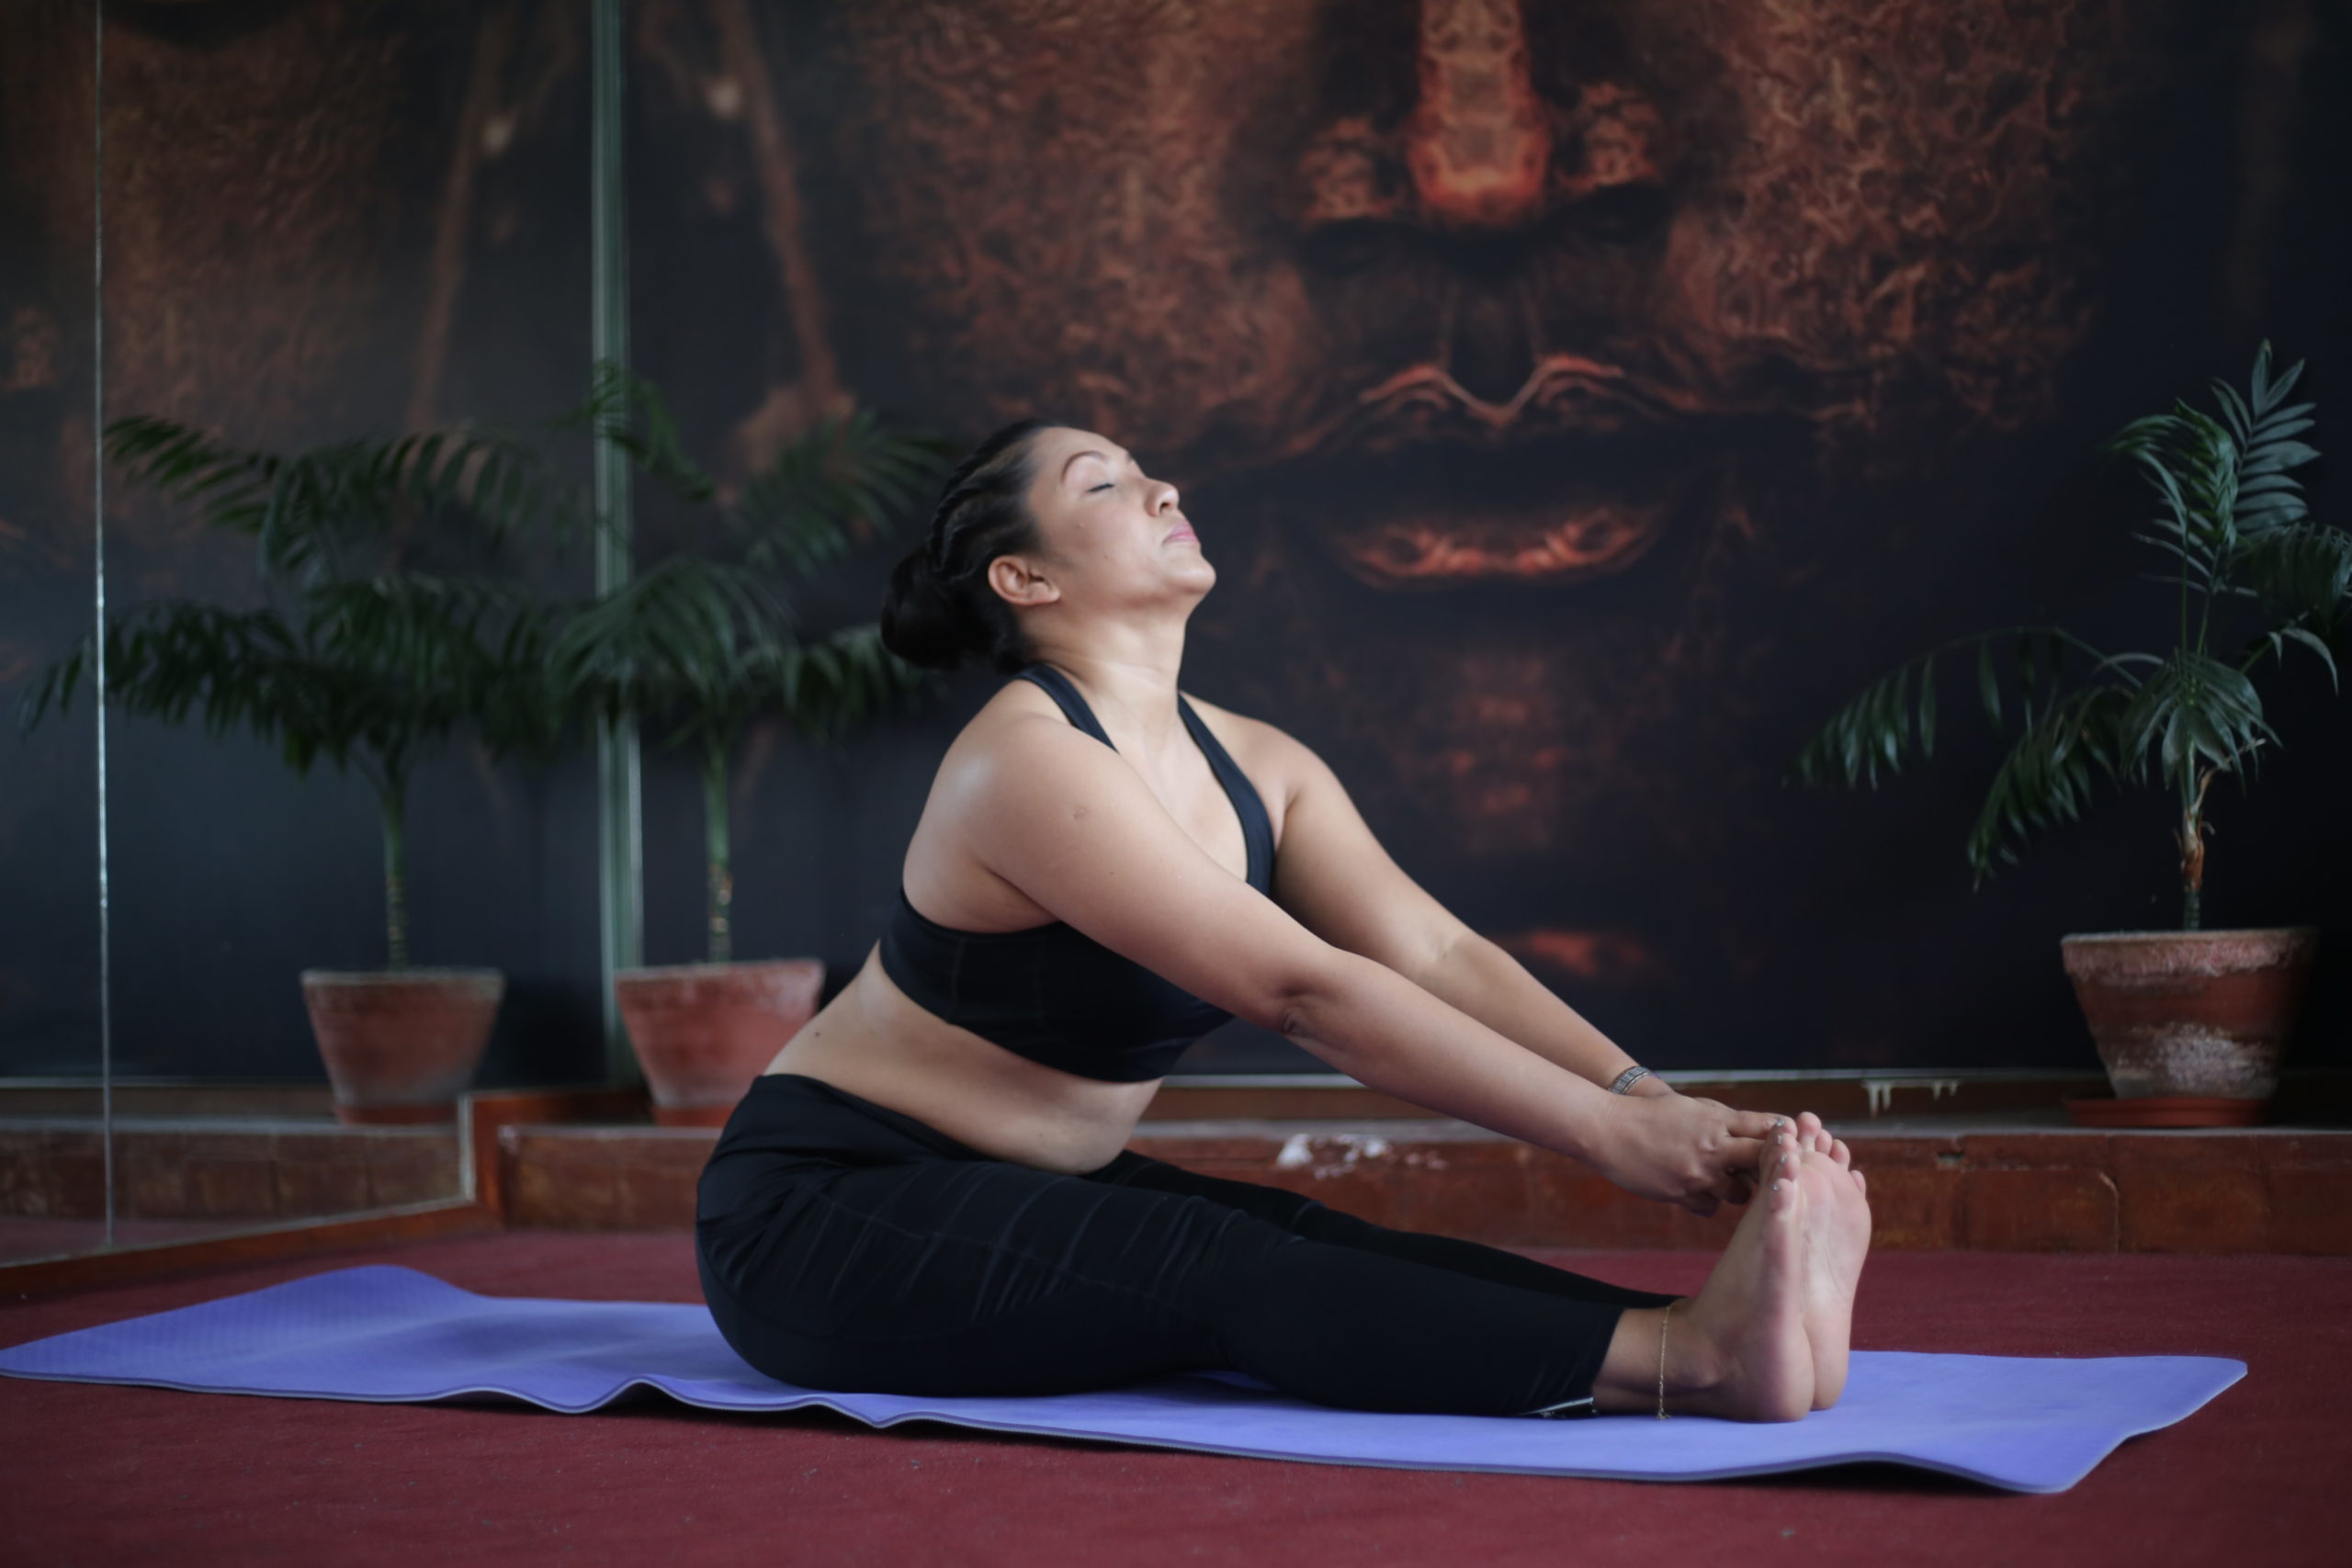
Paschimottanasana Step by Step

Paschimottanasana is a sited forward bent posture, which is also known as stretching posture. The key point of paschimottanasana is the glutes, hamstring, hips joints, and spine (back). The propose of paschimottanasana practice is to open those key point which is super stiff. Paschimottanasana methods, benefits & contra-indications are given below step by step:
The most important point to follow for paschimottanasana practice.
- Paschimottanasana Preparation: Warm-up exercise
- Paschimottanasana Alignments: On Spine and legs (need to be straight).
- Paschimottanasana Gazing: On Toes or third eyes.
- Paschimottanasana Adjustment: On spine, buttocks, and knees.
- Use of yoga blocks for Paschimottanasana: Yoga belt, blocks, Susun and bolster.
- Final postures of Paschimottanasana: Chin and chest on the legs, elbow on the floor with fingers on the toes.
- Counter Pose for Paschimottanasana: Backbend or Camel pose (compulsory to do backbend after the paschimottanasa to avoid back pain after prolong held)
Methods or steps Paschimottanasana
- Sit down with the legs straight in front of the body, palms beside the hips.
- Now straight the back and relax the whole body with a couple of deep inhale and exhale.
- After a couple of breaths now inhale deeply and raise both arms up to the sky, Feel the stretch on the waist and the arms.
- Bend forward from the hips with exhalation and hold the toes with the fingers.
- Inhale again by stretching the chest upwards and lean forward with exhale to bring head on the legs.
- Hold the postures as long as possible with the natural breath.
- Now again inhale by raising arms up to the sky while coming back to normal pose.
- Don’t forget to follow the Most important point for paschimottanasana practice which is given above.
Benefits of Paschimottanasana
- Tones kidneys and the core muscles
- Improve digestion
- Good circulation in the pelvic region
- Release blockages of the hips joints
- Opens hamstring muscle
- Stretch back muscles
- Activate Navel chakra
- Open hips lock
- Benefits for liver and pancreas
- Stimulates circulation to the nerves and muscles of the spine
Contra-indication of Paschimottanasana
- Slipped disc
- Sciatica
- Pregnancy
- Hernia
Paschimottanasana for beginner
- Do exercise for hips, back, hamstring and arms.
- At the beginning bend knees if not possible to touch toes with fingers.
- Place a bolster under the buttocks to make it more comfortable for forwarding bend.
- Place yoga belt on the feet and pull the belt with the palm towards you gently for forwarding and gentle stretch.
- Try to hold the final posture as comfortable as possible with natural breath
Paschimottanasana for intermediate
- For intermediate practitioner straight the knees and place the 1-2 blocks on the feet then try to hold those blocks with your palms
- Touching blocks on the foot with palms gives deep stretch on the hamstring and behind the knees. It also helps to straighten the back.
Paschimottanasana for advanced
- After the practice of step by step and after the mastering of all the levels try to practice to bring the head to toes.
- Remember there should not be any over forced and never practice advanced posture directly.
Click the given link to see the advanced paschimottanasana posture. https://www.instagram.com/p/B4zNotNDdEC/?igshid=1kc8z9thapwqe&fbclid=IwAR3-ShTx997CRavoQPMX8mv9joUavU-gCbfJn7r5O7xwzyRjoQRakMJwl8o
Nothing is impossible if you do regular practice with patience.
A write up by Guru Kriti
https://mandalayogastudio.com.np/about-teachers-2
